Christmas time
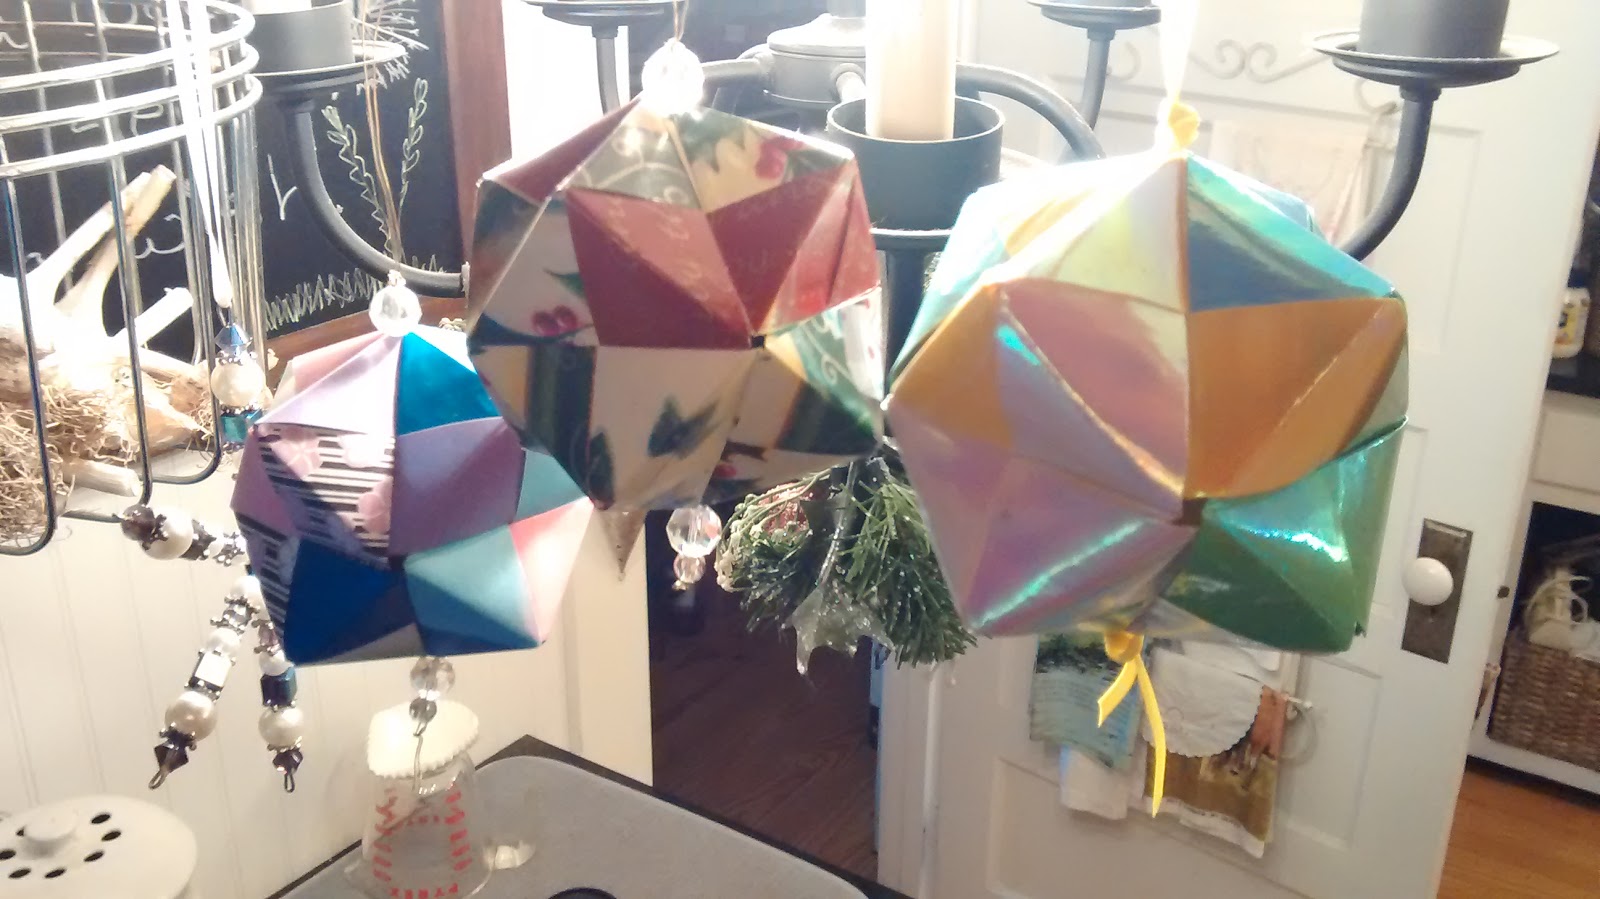
Every year, a week or two before Christmas, when I'm not making cookies, I like to make origami ornaments for the tree. Some for giving, some very tiny for my feather tree and some just for hanging around the house.
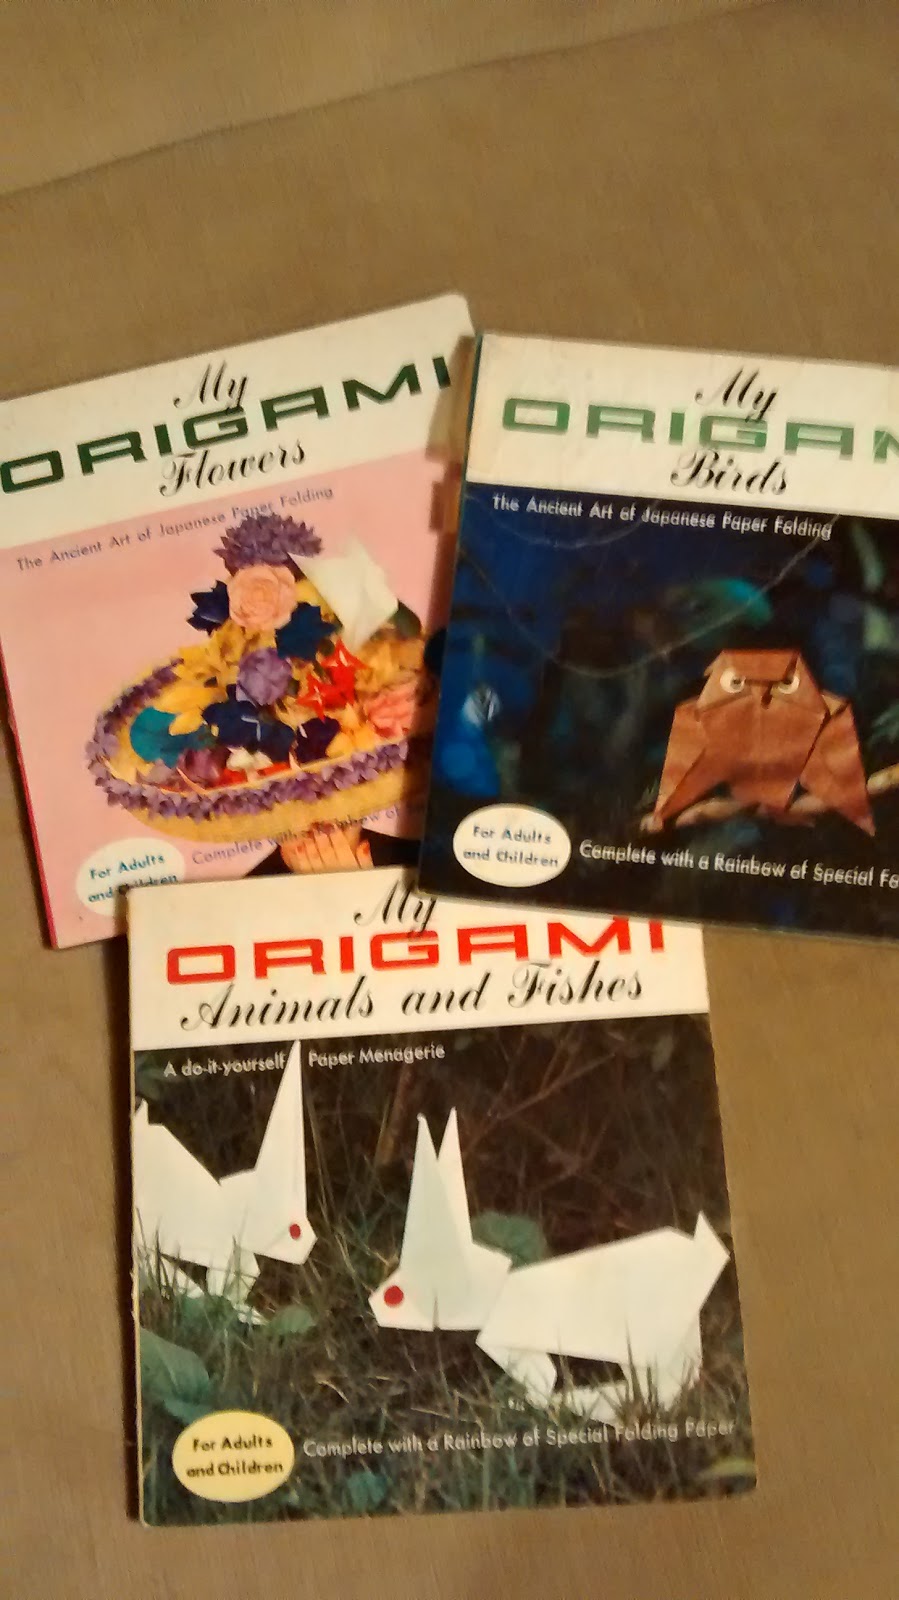
I collect origami books. These 3 books were the first books I "read". I didn't have to know how to read to enjoy them. I just followed the diagrams and made something to play with!
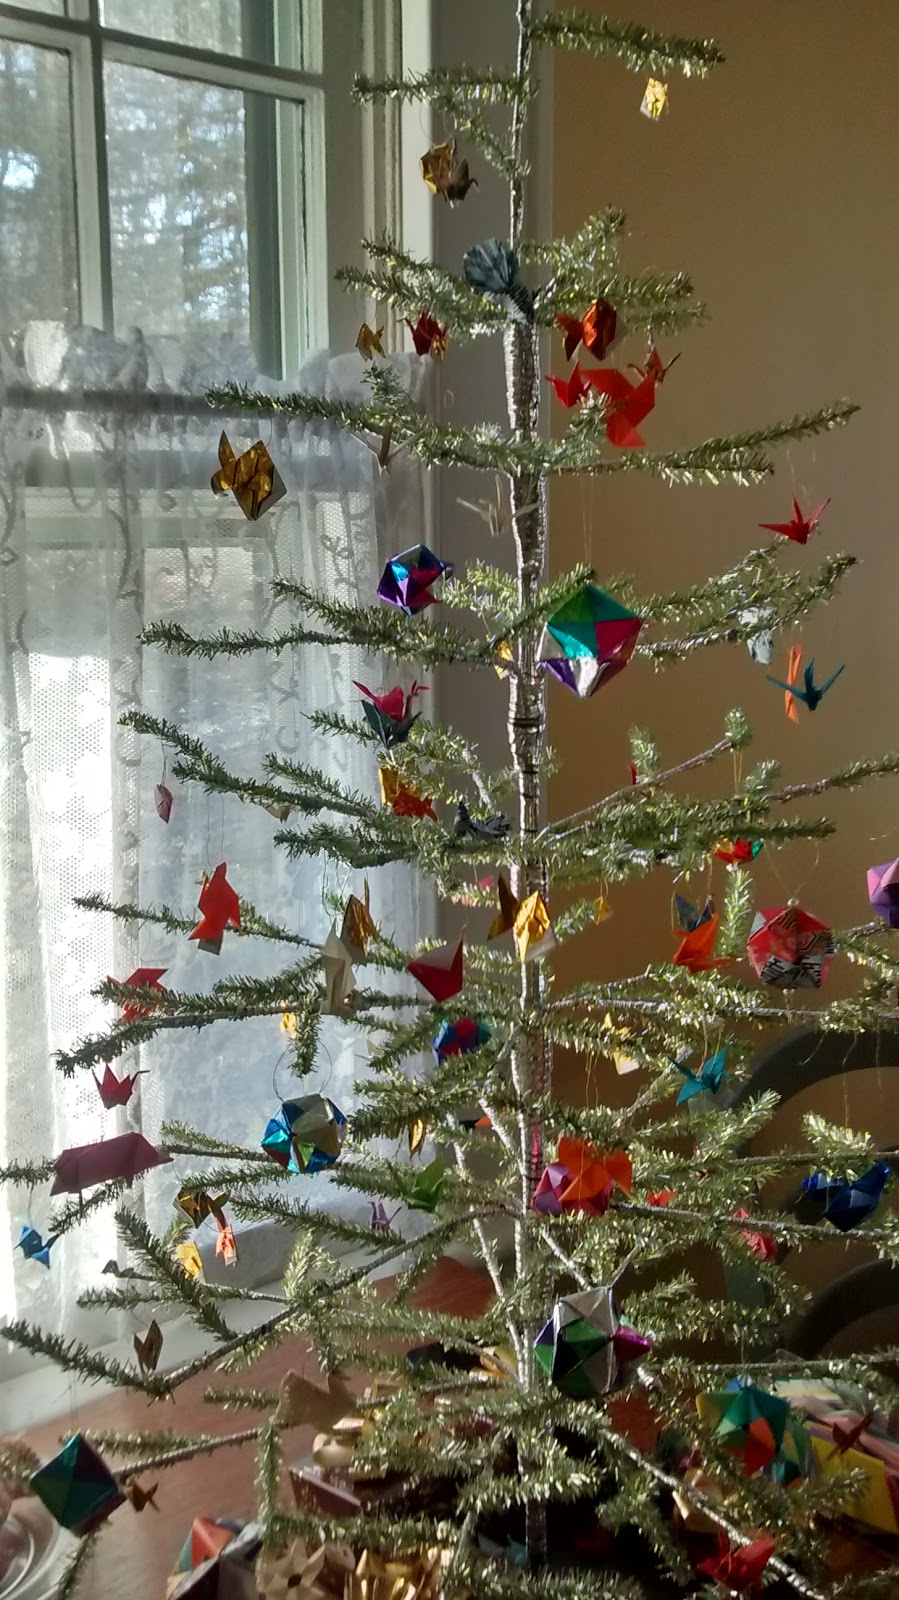
Tree for tiny origami.
Making a modular origami ball
I am going to attempt to write directions for my modular origami ball. (This is really for me, because I keep taking a ball apart every year, because I forget how to do it!)
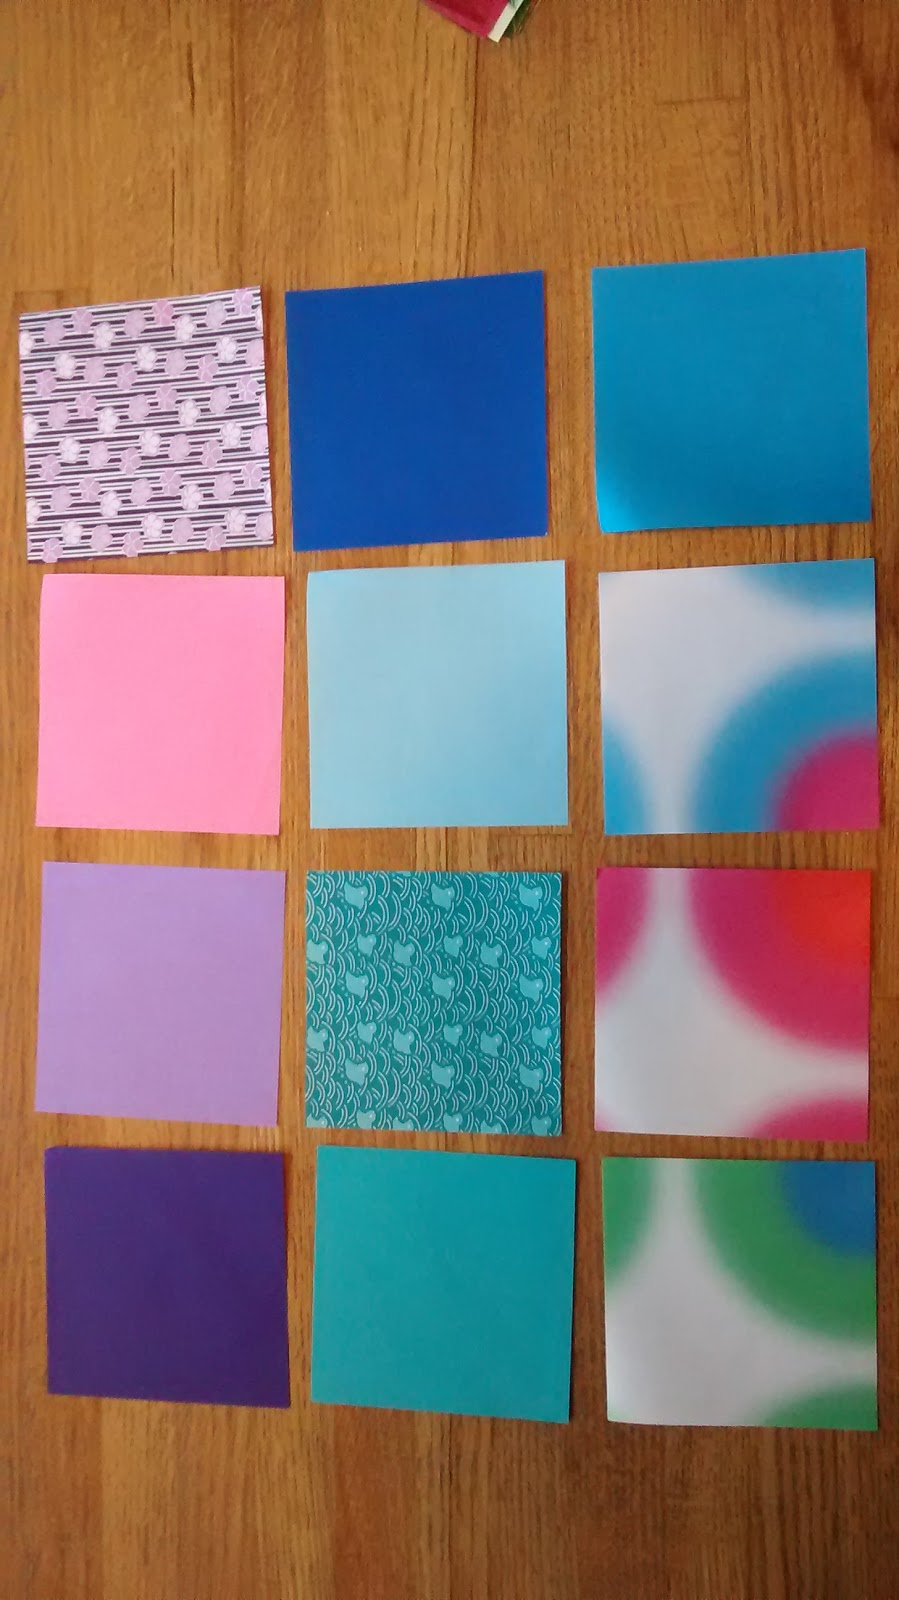
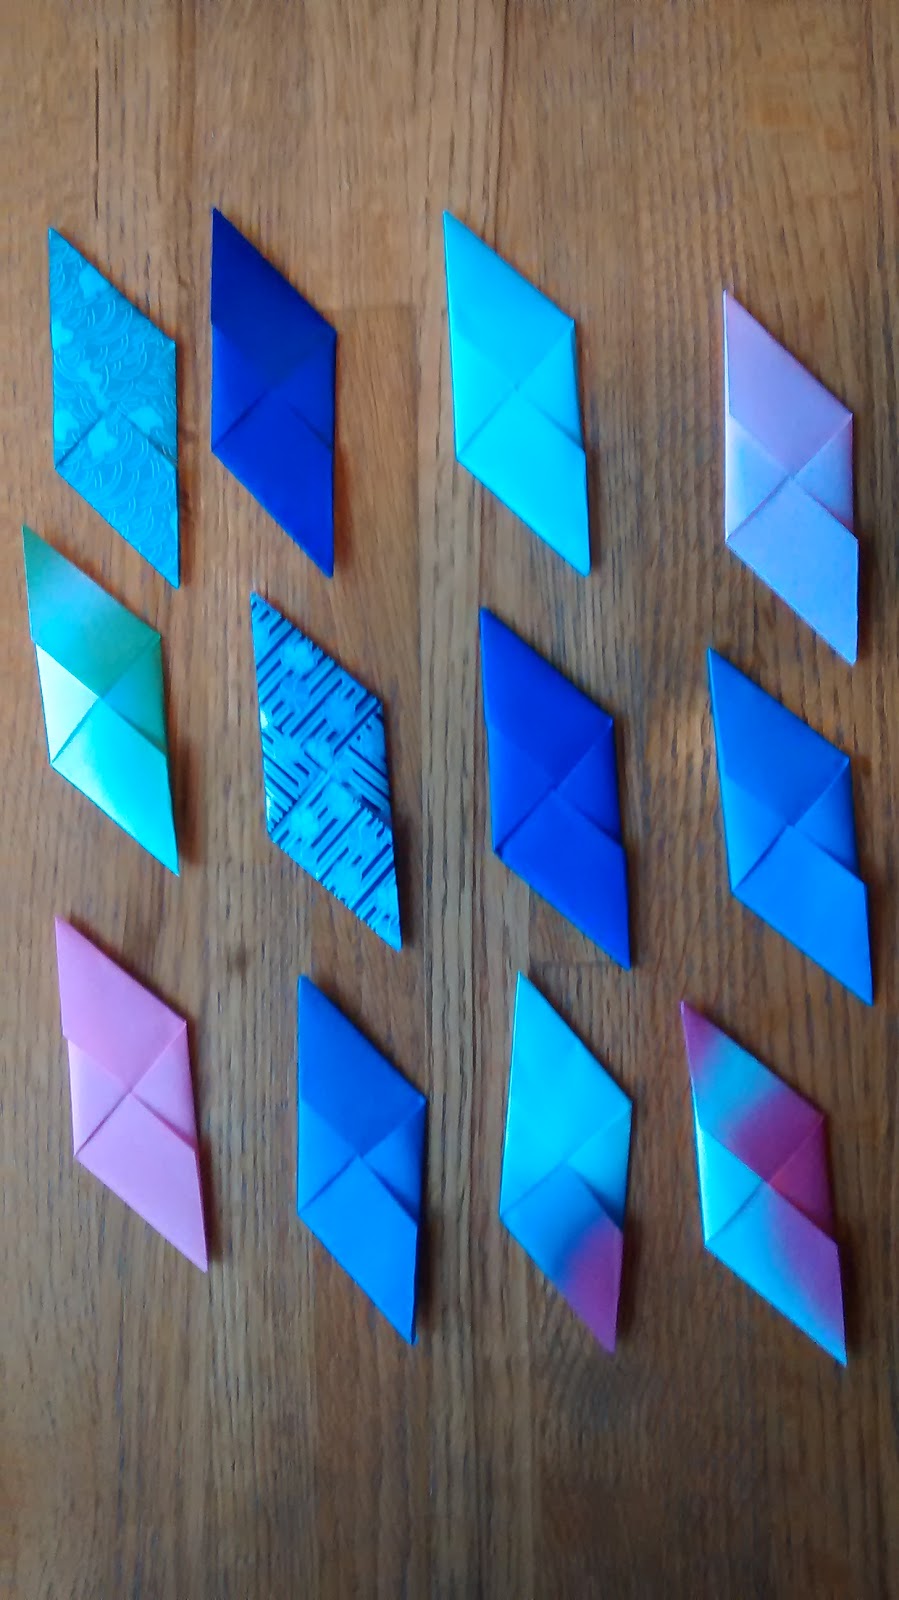
Pick 12 square pieces of paper. It can be wrapping paper, pages from a magazine, and of course origami paper. Its fun and good for the environment if you make it out of paper that has been recycled.
(These are 4 inch squares.)
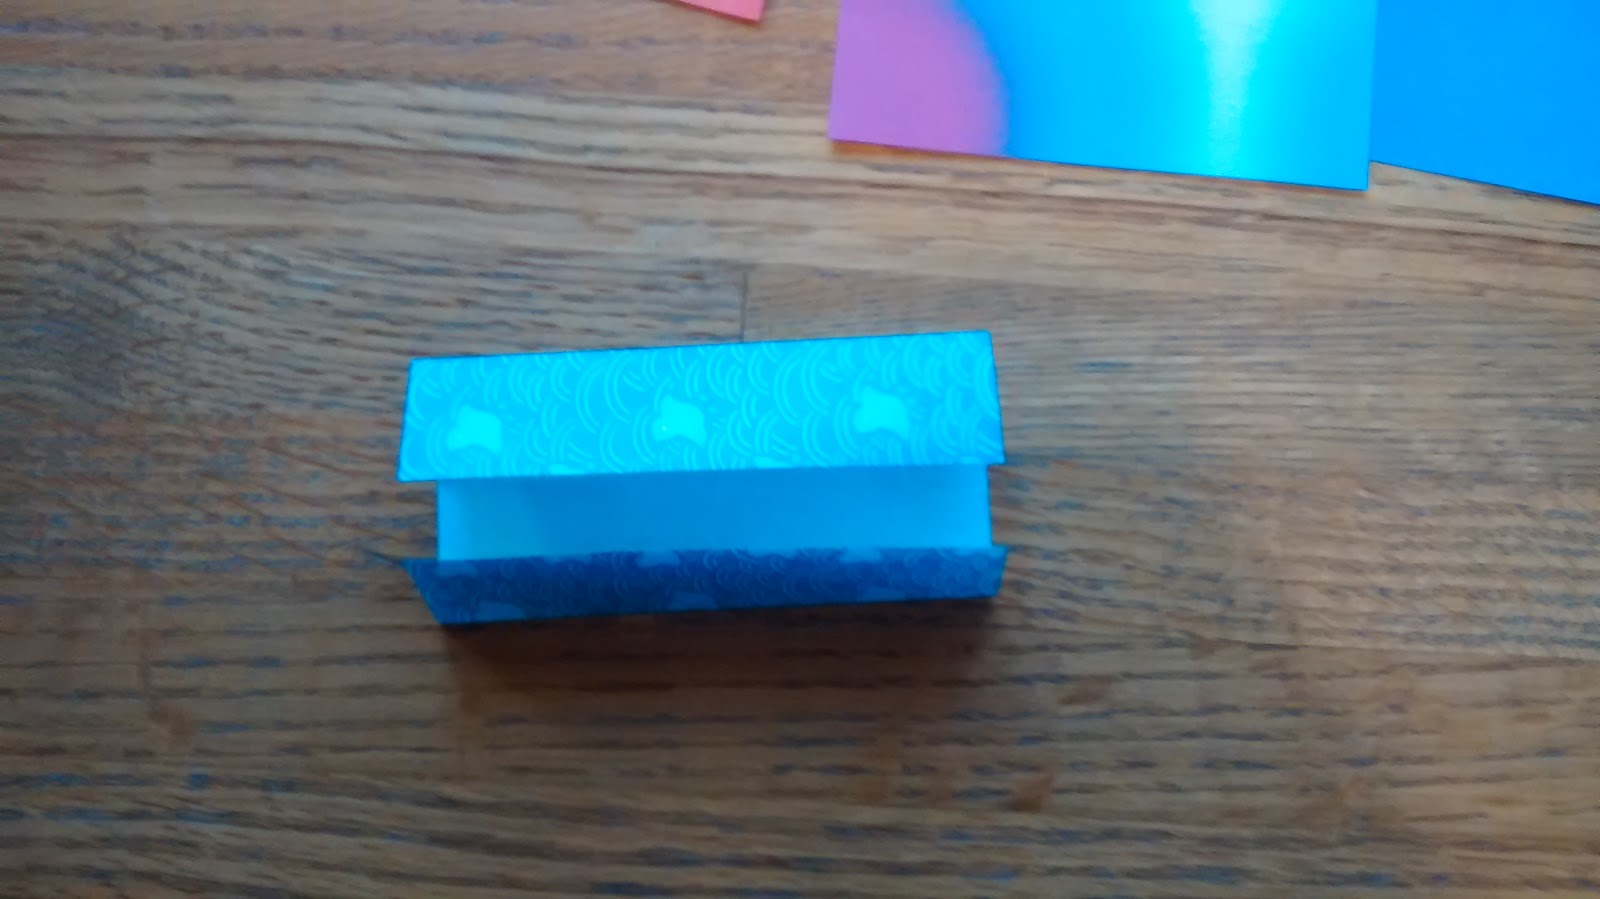
Fold in half and then fold to the center line on each side.
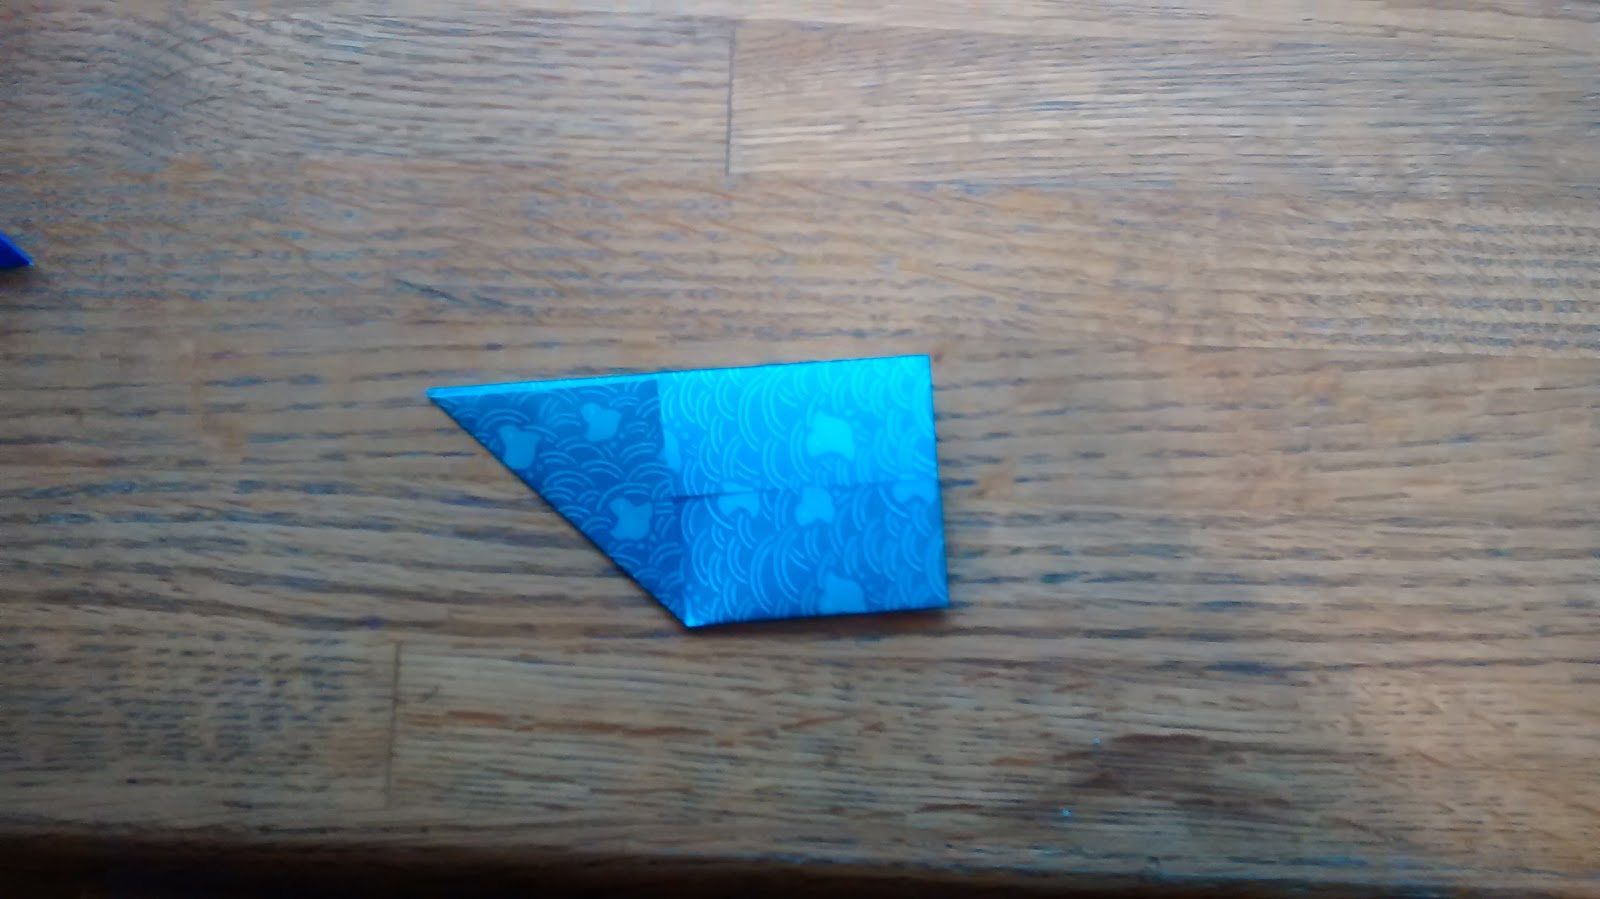
Fold the corner up.
Then the other corner down.
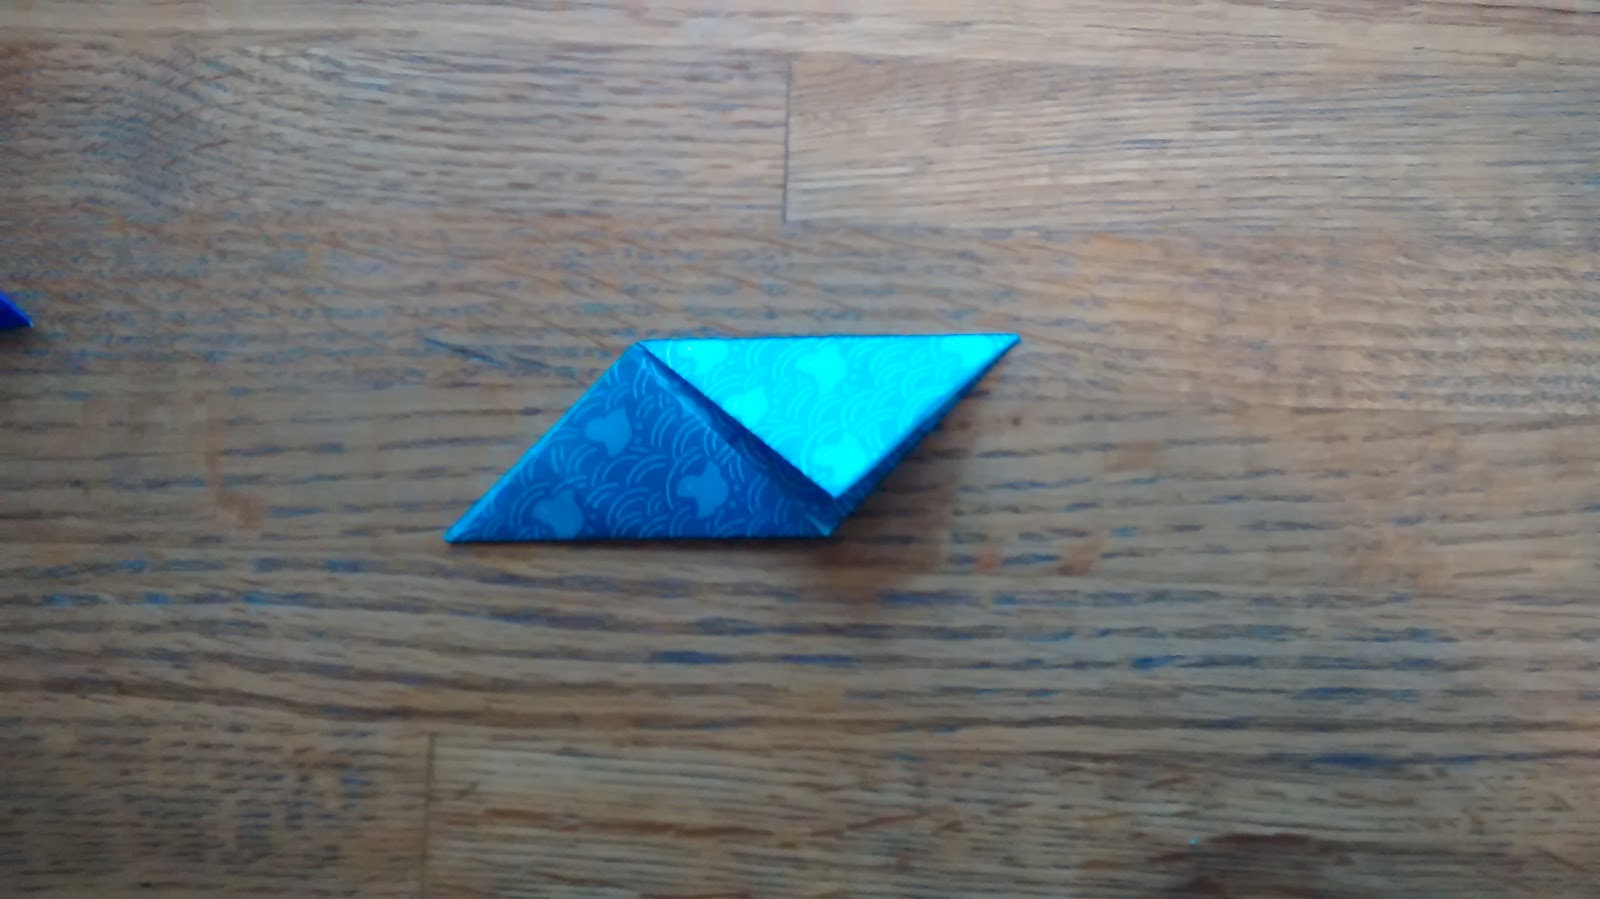
Tuck each corner inside. You need to make sure each piece is folded the same way.
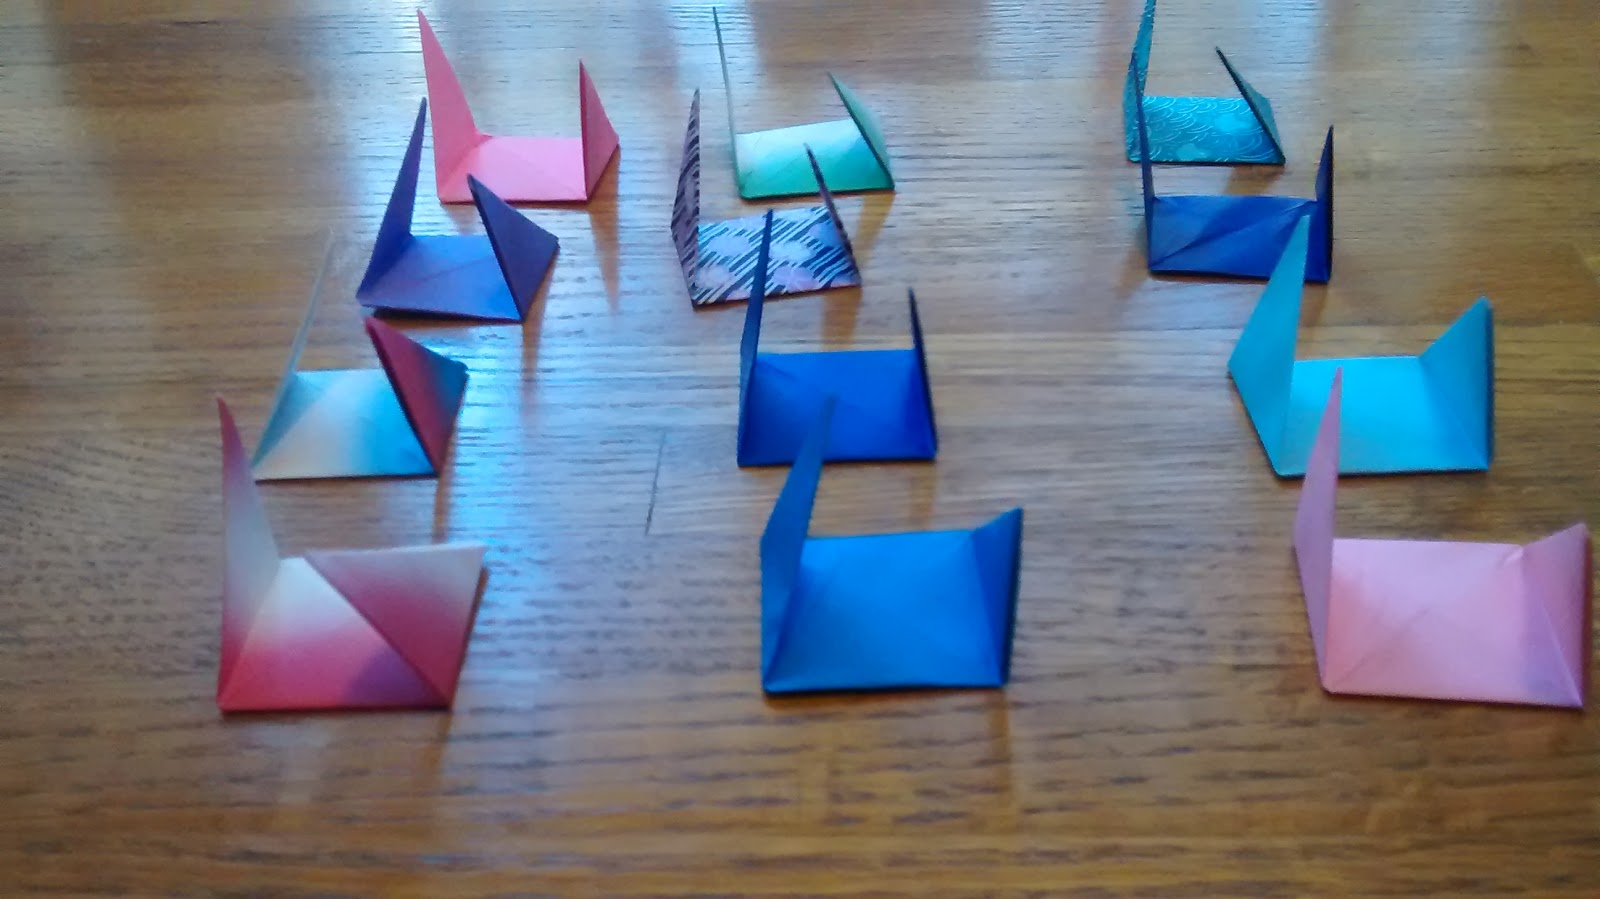
Turn each piece over, and fold up the ends to make flaps.

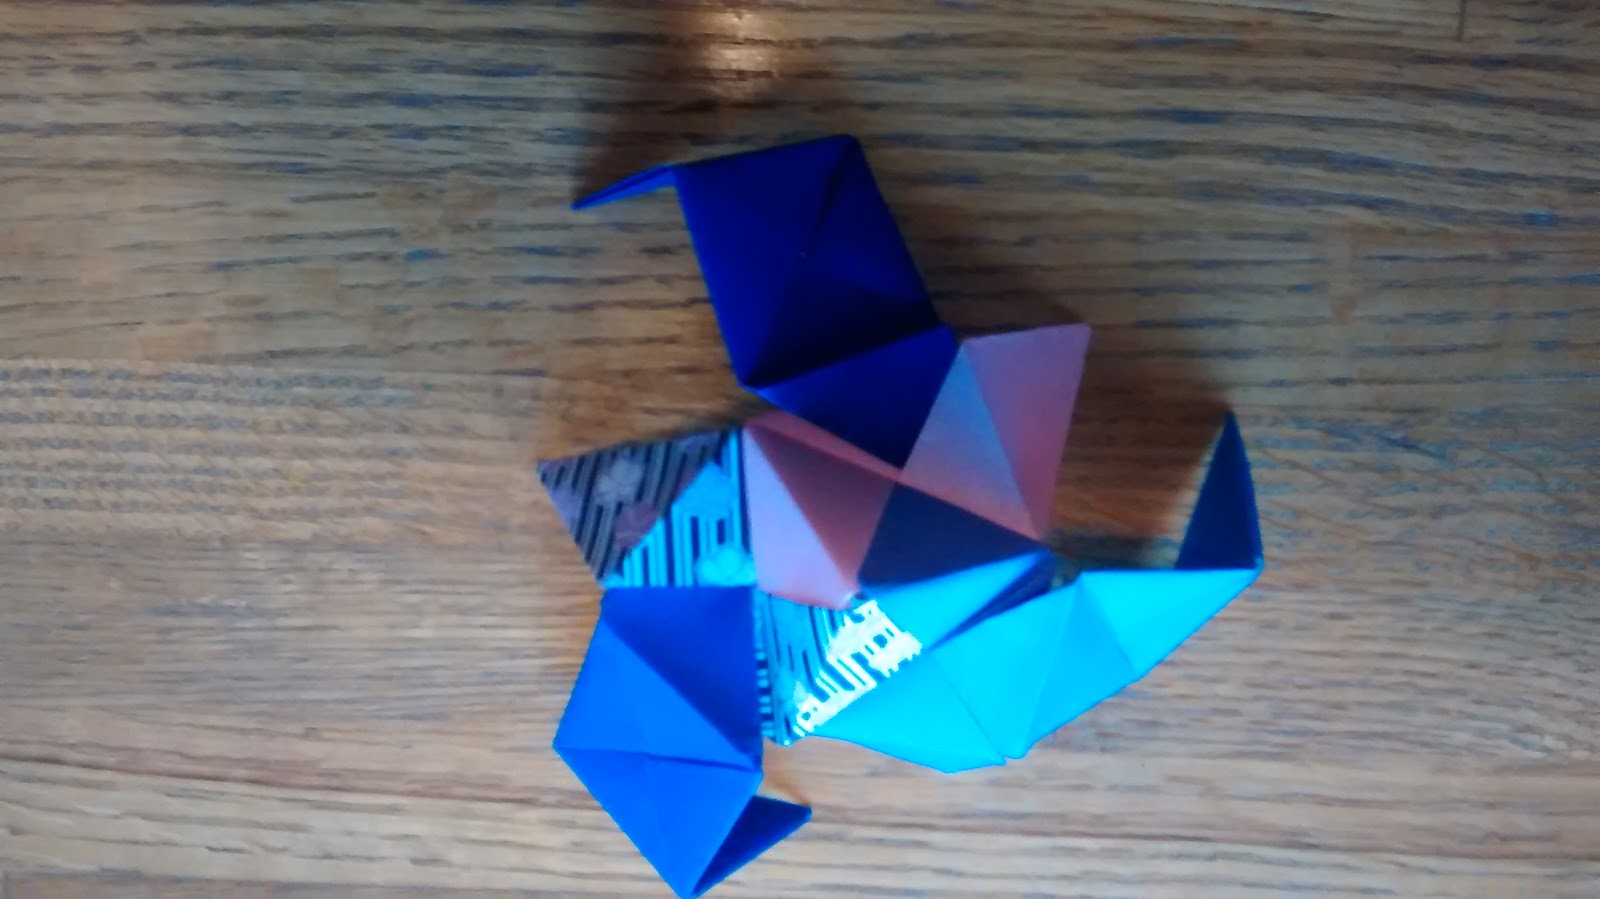
The first three pieces fitted together. The flaps fit into pockets on another piece.
Six pieces together.
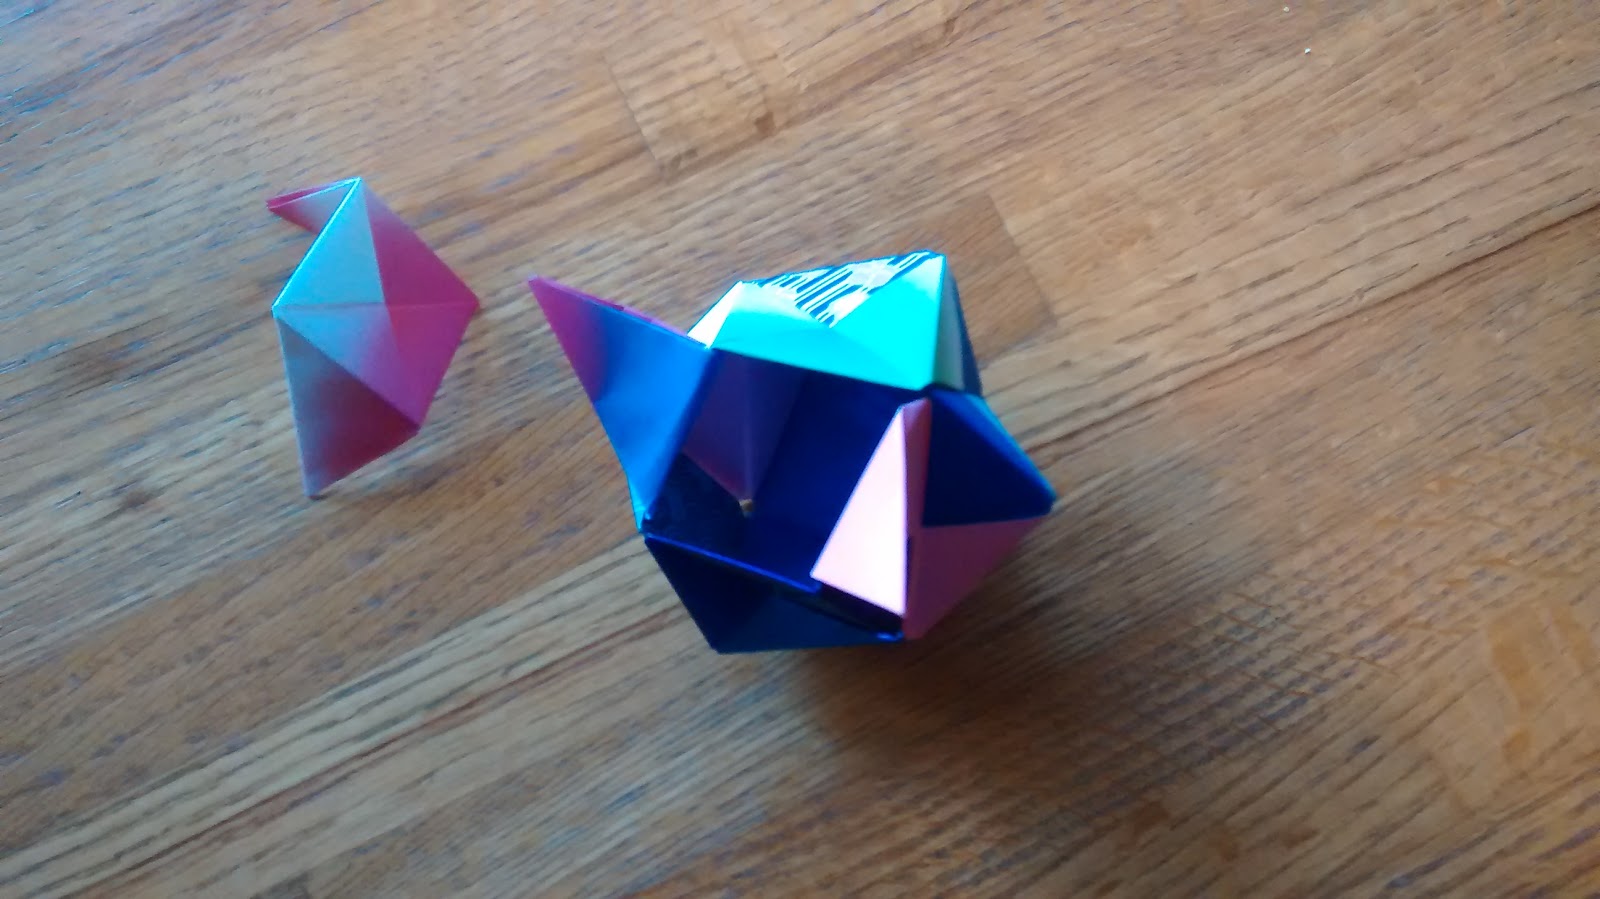
One piece left.
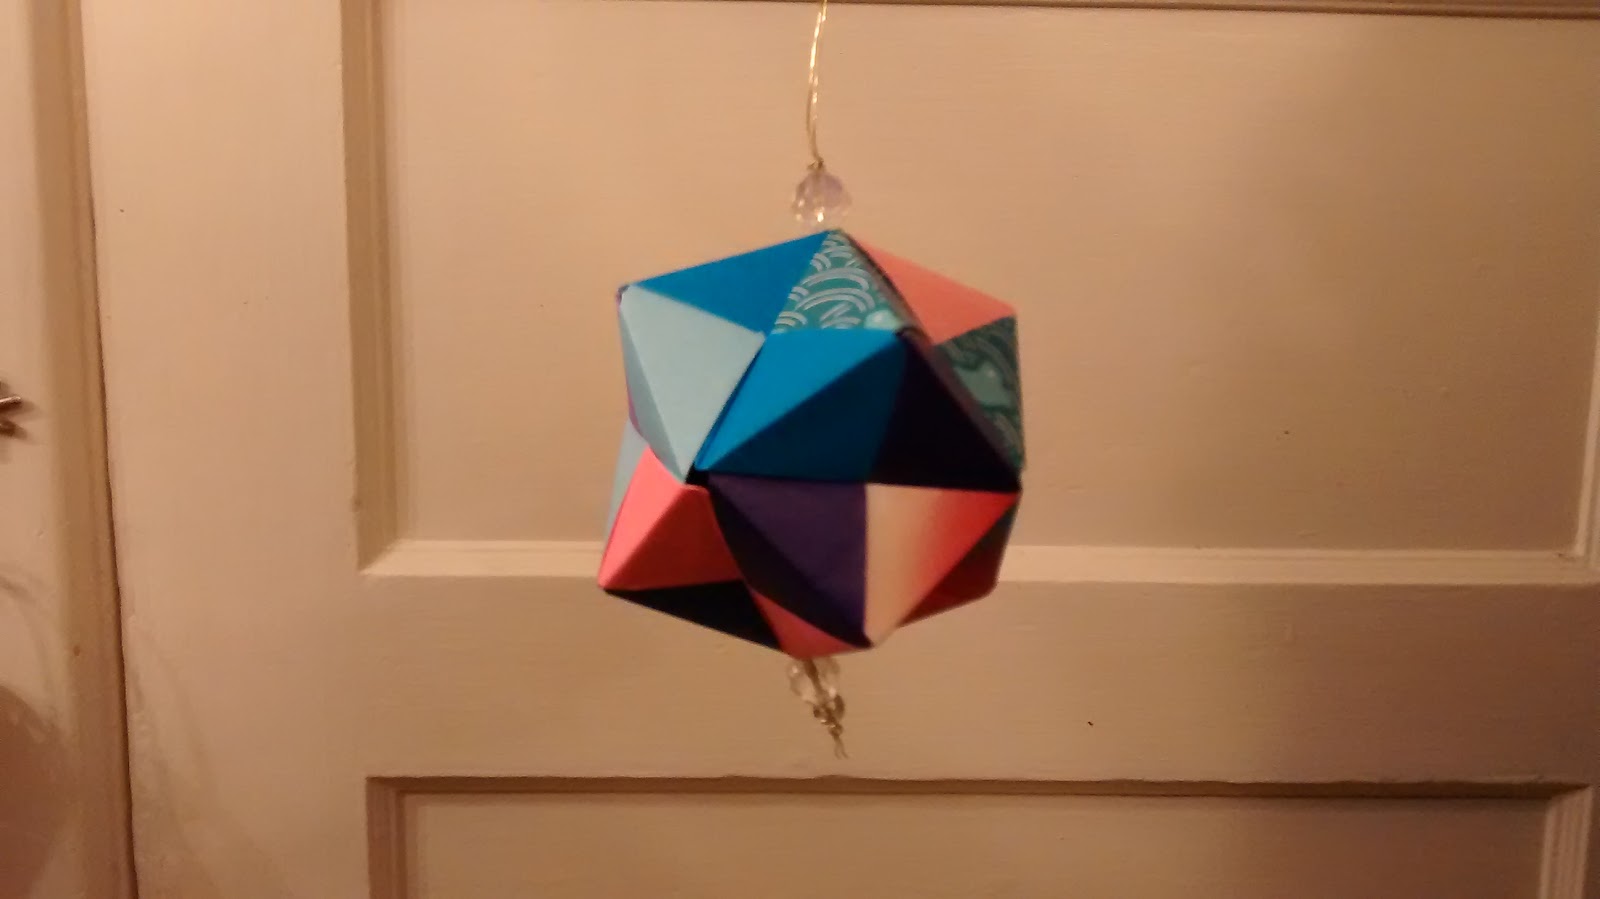
Finished!